Basic Bulky Beanie Free Crochet Pattern (Baby to Adult Sizes)
As an Amazon Associate, I earn from qualifying purchases. When you purchase through links on my site, I may earn an affiliate commission. Here’s how it works.
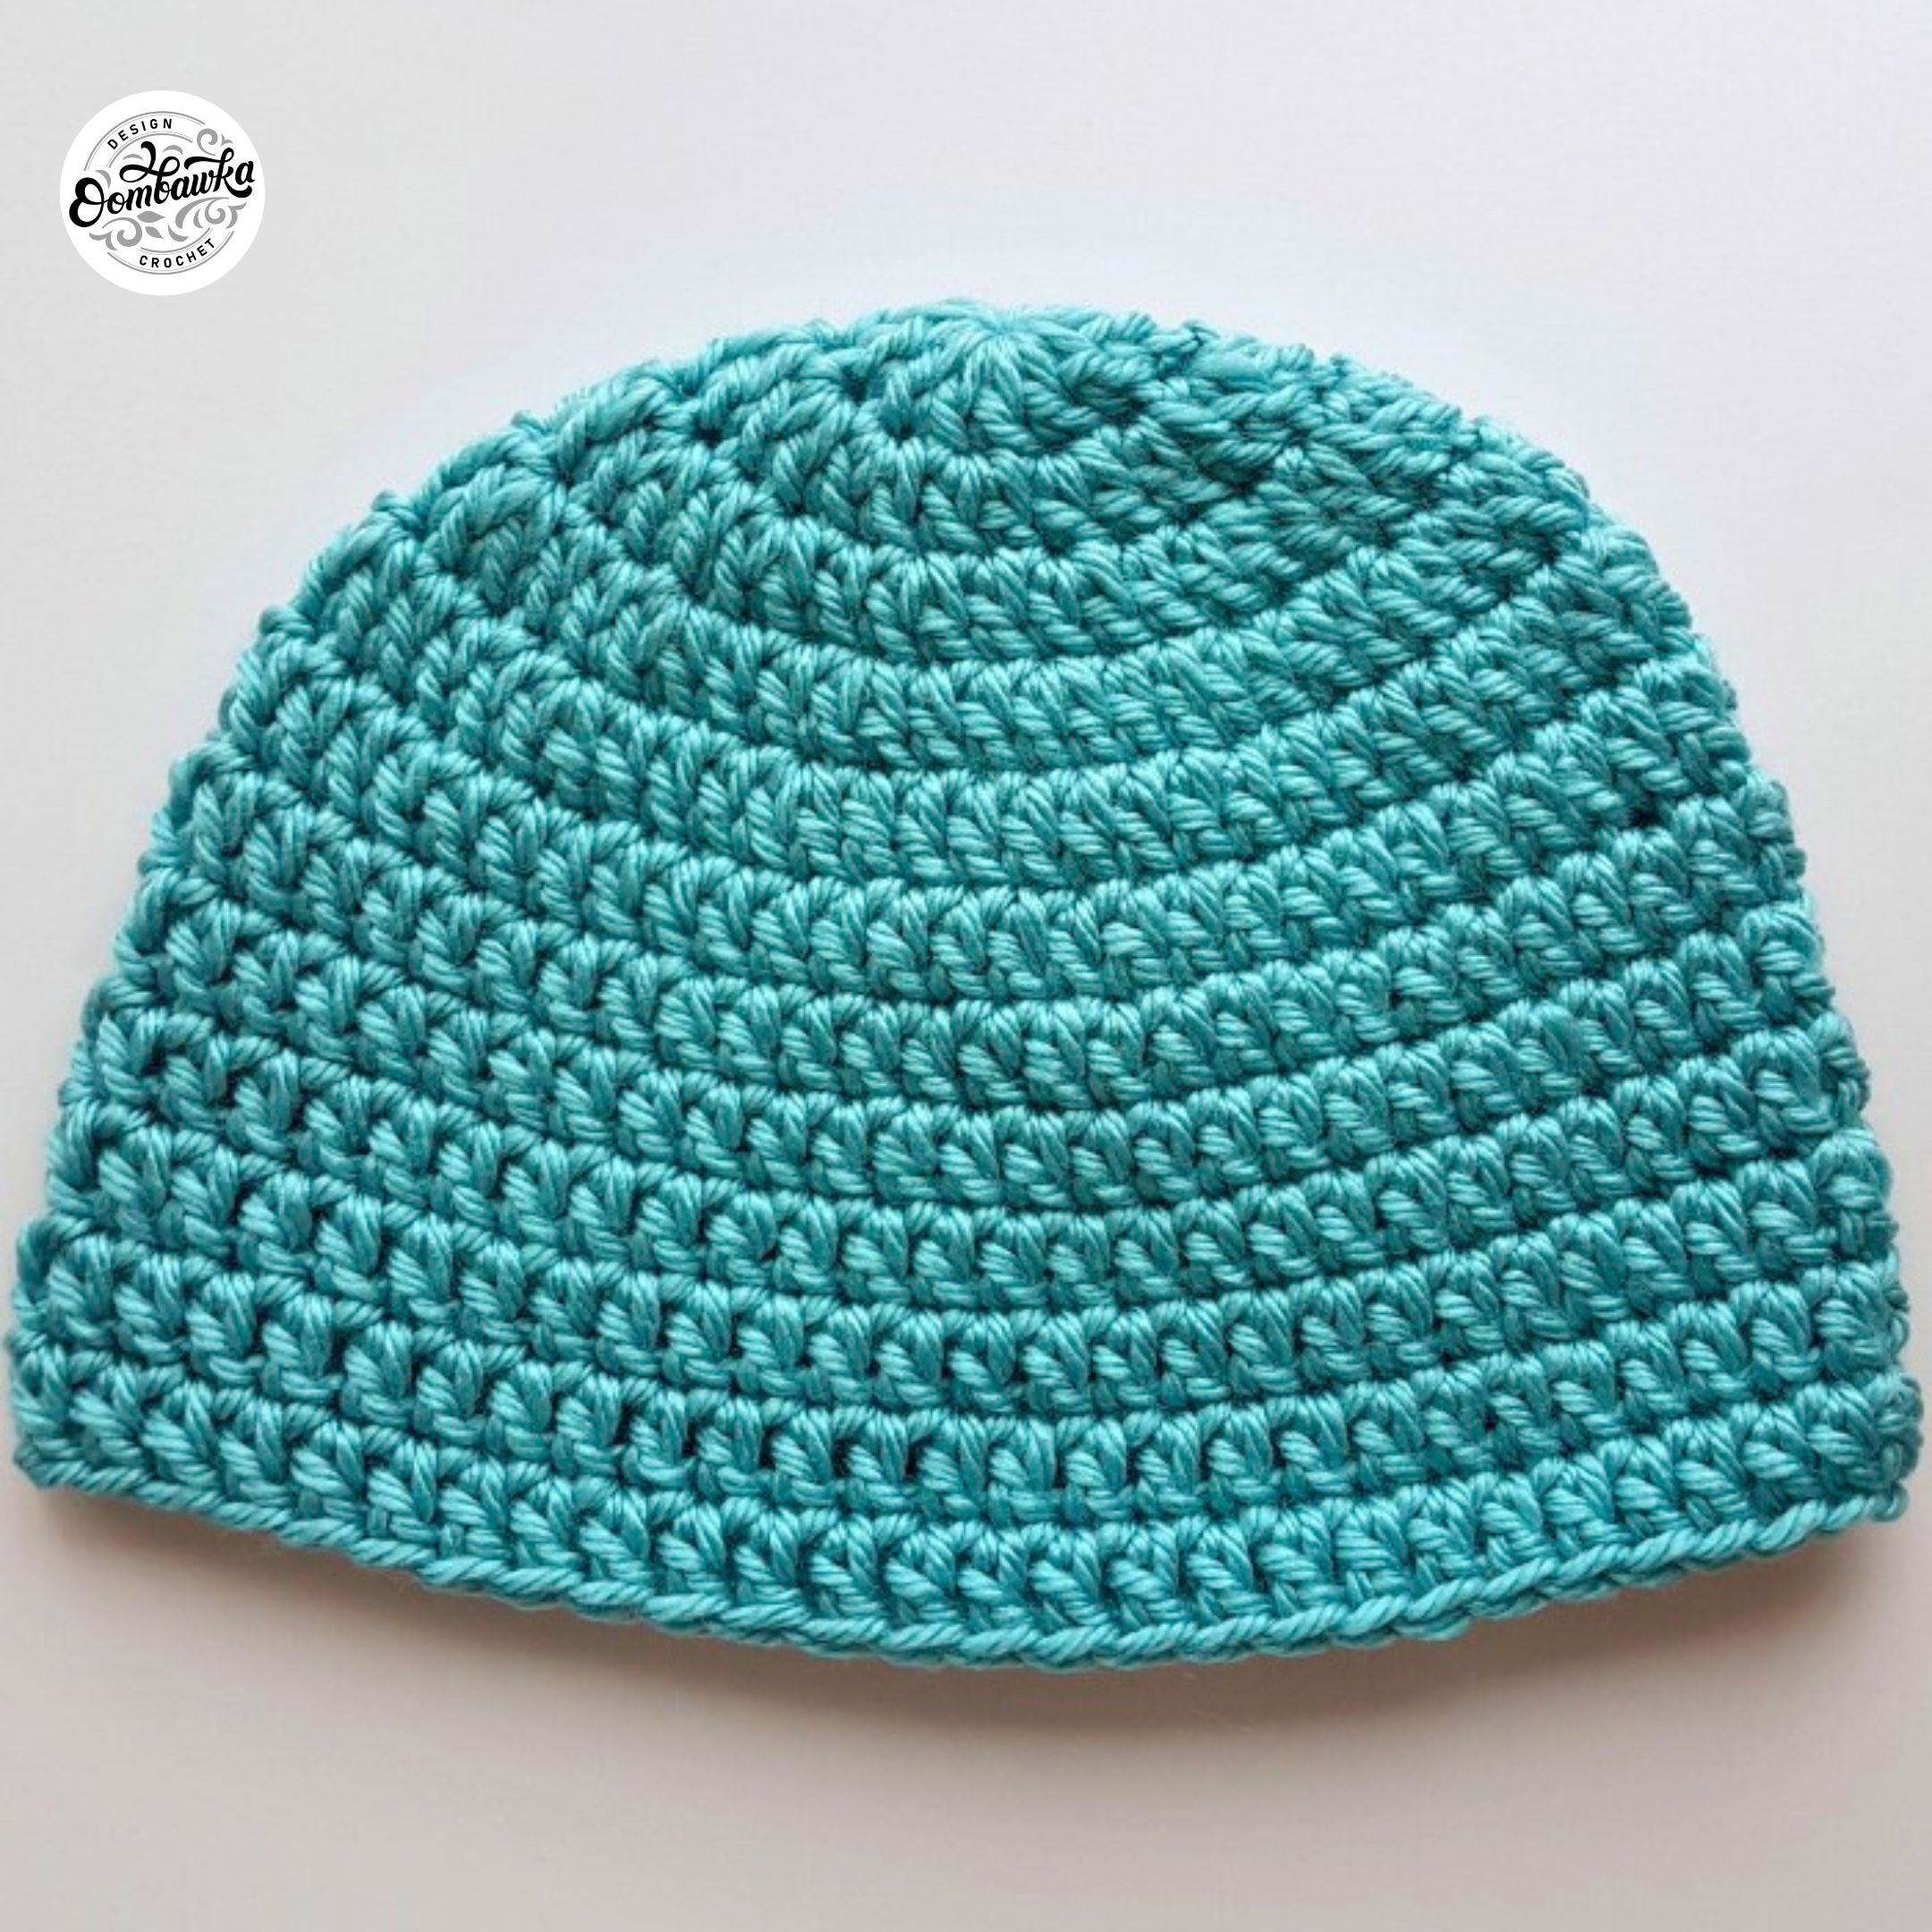
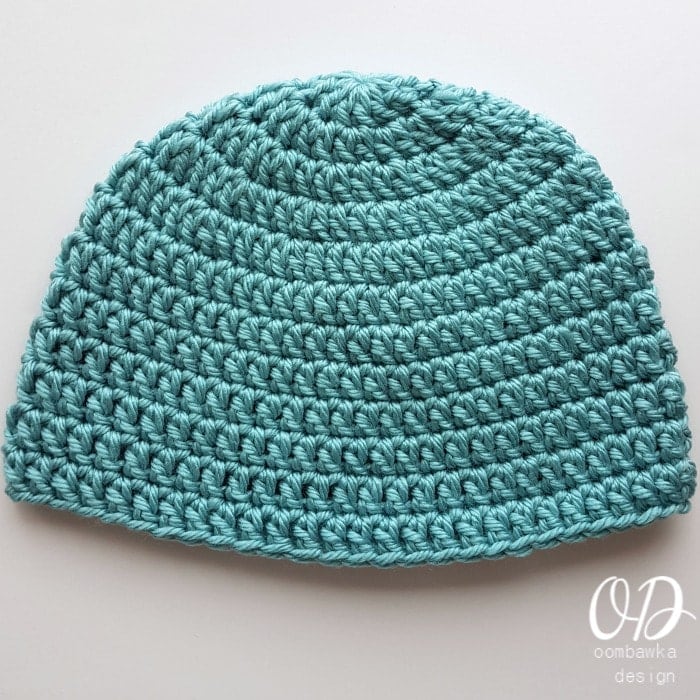
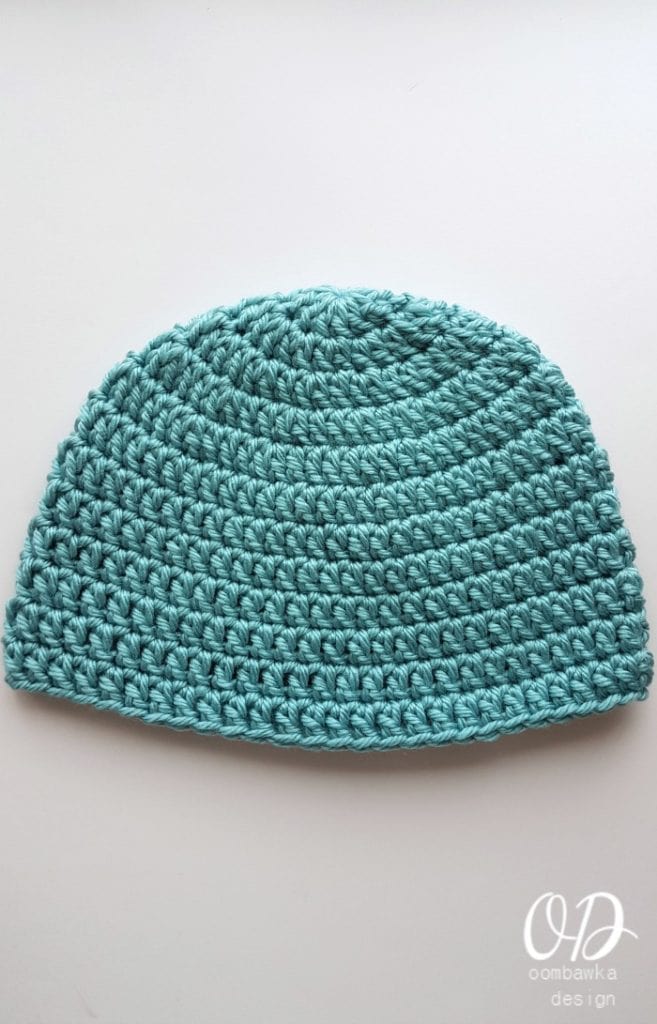
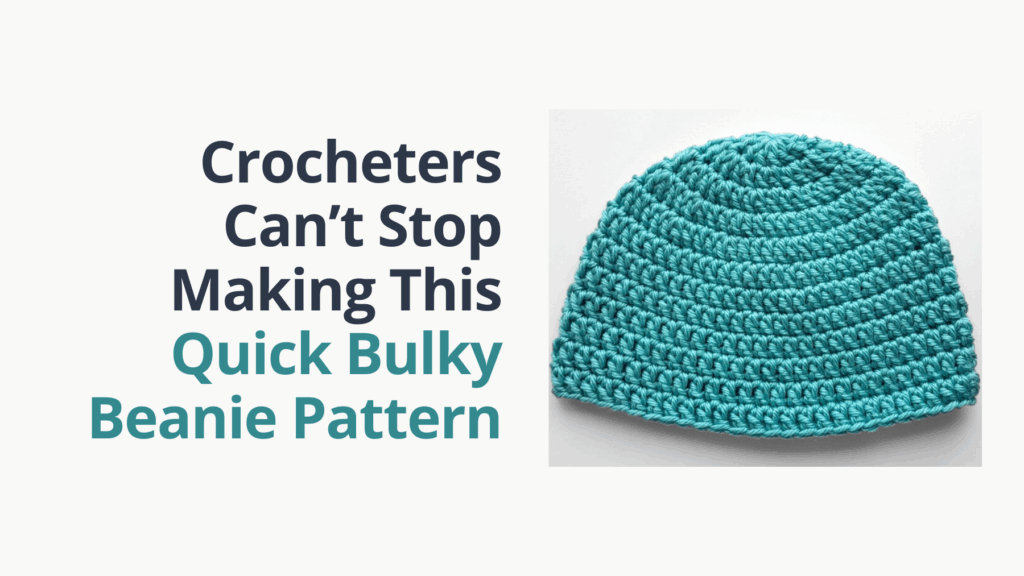
Looking for a fast crochet hat pattern? The Basic Bulky Beanie works up quickly with bulky #5 yarn and a 6 mm (J) hook. It’s warm, soft, and ideal for gift-giving, craft fairs, or donation projects. The simple stitch pattern keeps it beginner-friendly while producing a classic, comfortable hat for all ages.
Why You’ll Love This Pattern
Simple stitches with modern, clean texture that suits any yarn color.
Uses bulky yarn for quick results — most sizes take under an hour.
Great for charity projects or last-minute gifts.
Free Basic Bulky Crochet Beanie Pattern
This post includes the free Basic Bulky Beanie Crochet Pattern, available in sizes from preemie to adult large. I’ve included two length options so you can decide if you’d like your hat to reach the base of your earlobes or sit mid-ear. These soft, cozy hats also make wonderful chemo caps and preemie hats for donation projects.
If you’d like to try a seamless option, visit my Seamless Double Crochet Hat pattern — it’s a super simple version of this bulky beanie.
King Cole Quartz Super Chunky. 3.5 oz / 100 g; 93 yds / 85 m. Super Chunky Weight Yarn [6]. 90% Acrylic, 10% Superwash Wool.
Mary Maxim Titan. 3 oz / 85 g; 80 yds / 73 m. Bulky Weight Yarn [5]. 100% Acrylic.
Difficulty Level
BEGINNER
Finished Size
Sizes range from Preemie to Adult Large – remember if you have a head to measure – measure it because the sizes are based on average ranges and not everyone conforms to the ‘average’ sizes.
Gauge
Approximately 10 dc in 4 inches; 8 rounds in 5 inches (6.4 rounds = 4 inches)
If your stitches are too loose (you have more than10 dc in 4 inches), go down a hook size; if they are too tight (you have less than 10 dc in 4 inches), go up one.
TIP: Always check your gauge before starting. Even among bulky yarns, fiber content and twist can affect the hat’s size and fit.
Abbreviations
US Terminology used
ch – chain
dc – double crochet
DMR – double magic ring
R – round
rem – remaining
rep – repeat
sk – skip
sl st – slip stitch
st/sts – stitch/stitches
* – ** Repeat the instructions between the asterisks the number of times indicated. This repeat will contain of multiple instructions.
() – Repeat the instructions between the parentheses the number of times indicated.
[] – at the end of the row – the total number of stitches
do not count the ch 3 at the beginning of a round as a stitch
the first st of each round is worked in the same st as you sl st to join
length of hat is to the base of the earlobe; instructions have been included for mid-ear length as well.
For any of my hat patterns that I have started with a double magic ring (see this tutorial) you can just as easily crochet a regular magic ring or begin by crocheting a chain-3 and slip stitch to join to the first chain to form a ring and then work your stitches directly into that ring.
Using your 6 mm (J) crochet hook, or the size required to reach gauge:
Preemie Bulky Beanie
To Fit: 12 inches Head Circumference Finished Length: 4.5 inches
R1: DMR: Ch 3, 12 dc, sl st to the top of first dc to join. [12]
R2: Ch 3, 2 dc in each st around; sl st to the first dc to join. [24]
R3: Ch 3, 2 dc in the first st; 1 dc in each rem st around. Sl st to the first dc to join. [25]
R4: Ch 3, 1 dc in each st around. Sl st to the first dc to join. [25]
R5-R7: Rep R4 [25]
If you would prefer the hat to reach mid ear, stop after R6.
Proceed to finishing instructions.
Newborn Bulky Beanie
To Fit: 13.5 inches Head Circumference Finished Length: 5 inches
R1: DMR: Ch 3, 12 dc, sl st to the top of first dc to join. [12]
R2: Ch 3, 2 dc in each st around; sl st to the first dc to join. [24]
R3: Ch 3,*2 dc in the next st, 1 dc in each of the next 3 sts**. Work from * to ** 5 times. 1 dc in each rem st around. Sl st to the first dc to join. [29]
R4: Ch 3, 1 dc in each st around. Sl st to the first dc to join. [29]
R5-R8: Rep R4 [29]
If you would prefer the hat to reach mid ear, stop after R7.
Proceed to finishing instructions.
0-3 months Bulky Beanie
To Fit: 16 inches Head Circumference Finished Length: 6 inches
R1: DMR: Ch 3, 12 dc, sl st to the top of first dc to join. [12]
R2: Ch 3, 2 dc in each st around; sl st to the first dc to join. [24]
R3: Ch 3,*2 dc in the next st, 1 dc in the next st**. Work from * to ** 11 times. 1 dc in each rem st around. Sl st to the first dc to join. [35]
R4: Ch 3, 1 dc in each st around. Sl st to the first dc to join. [35]
R5-R10: rep R4 [35]
If you would prefer the hat to reach mid ear, stop after R9.
Proceed to finishing instructions.
3-6 months Bulky Beanie
To Fit: 17 inches Head Circumference Finished Length: 6.25 inches
R1: DMR: Ch 3, 12 dc, sl st to the top of first dc to join. [12]
R2: Ch 3, 2 dc in each st around; sl st to the first dc to join. [24]
R3: Ch 3,*2 dc in the next st, 1 dc in the next st**. Work from * to ** 12 times. Sl st to the first dc to join. [36]
R4: Ch 3,*2 dc in the next st, 1 dc in each of the next 17 sts**. Rep from * to ** 2 times. Sl st to the first dc to join. [38]
R5: Ch 3, 1 dc in each st around. Sl st to the first dc to join. [38]
R6-R10: Rep R5 [38]
If you would prefer the hat to reach mid ear, stop after R9.
Proceed to finishing instructions.
6-12 months Bulky Beanie
To Fit: 18 inches Head Circumference Finished Length: 6.75 inches
R1: DMR: Ch 3, 12 dc, sl st to the top of first dc to join. [12]
R2: Ch 3, 2 dc in each st around; sl st to the first dc to join. [24]
R3: Ch 3,*2 dc in the next st, 1 dc in the next st**. Work from * to ** 12 times. Sl st to the first dc to join. [36]
R4: Ch 3,*2 dc in the next st, 1 dc in each of the next 8 sts**. Work from * to ** 4 times. Sl st to the first dc to join. [40]
R5: Ch 3, 1 dc in each st around. Sl st to the first dc to join. [40]
R6-R11: Rep R5 [40]
If you would prefer the hat to reach mid ear, stop after R10.
Proceed to finishing instructions.
12-24 months Bulky Beanie
To Fit: 19 inches Head Circumference Finished Length: 7 inches
R1: DMR: Ch 3, 12 dc, sl st to the top of first dc to join. [12]
R2: Ch 3, 2 dc in each st around; sl st to the first dc to join. [24]
R3: Ch 3,*2 dc in the next st, 1 dc in the next st**. Work from * to ** 12 times. Sl st to the first dc to join. [36]
R4: Ch 3,*2 dc in the next st, 1 dc in each of the next 4 sts**. Work from * to ** 7 times. 1 dc in each rem st around. Sl st to the first dc to join. [43]
R5: Ch 3, 1 dc in each st around. Sl st to the first dc to join. [43]
R6-R11: rep R5 [43]
If you would prefer the hat to reach mid ear, stop after R10.
Proceed to finishing instructions.
3-6 years Bulky Beanie
To Fit: 20 inches Head Circumference Finished Length: 7.5 inches
R1: DMR: Ch 3, 12 dc, sl st to the top of first dc to join. [12]
R2: Ch 3, 2 dc in each st around; sl st to the first dc to join. [24]
R3: Ch 3,*2 dc in the next st, 1 dc in the next st**. Work from * to ** 12 times. Sl st to the first dc to join. [36]
R4: Ch 3,*2 dc in the next st, 1 dc in each of the next 3 sts**. Work from * to ** 9 times. Sl st to the first dc to join. [45]
R5: Ch 3, 1 dc in each st around. Sl st to the first dc to join. [45]
R6-R12: Rep R5 [45]
If you would prefer the hat to reach mid ear, stop after R11.
Proceed to finishing instructions.
7-10 years Bulky Beanie
To Fit: 20 inches Head Circumference Finished Length: 8 inches
R1: DMR: Ch 3, 12 dc, sl st to the top of first dc to join. [12]
R2: Ch 3, 2 dc in each st around; sl st to the first dc to join. [24]
R3: Ch 3,*2 dc in the next st, 1 dc in the next st**. Work from * to ** 12 times. Sl st to the first dc to join. [36]
R4: Ch 3,*2 dc in the next st, 1 dc in each of the next 2 sts**. Work from * to ** 12 times. Sl st to the first dc to join. [48]
R5: Ch 3, 1 dc in each st around. Sl st to the first dc to join. [48]
R6-R13: Rep R5 [48]
If you would prefer the hat to reach mid ear, stop after R12.
Proceed to finishing instructions.
Teen (Adult Small) Bulky Beanie
To Fit: 22 inches Head Circumference Finished Length: 8.25 inches
R1: DMR: Ch 3, 12 dc, sl st to the top of first dc to join. [12]
R2: Ch 3, 2 dc in each st around; sl st to the first dc to join. [24]
R3: Ch 3,*2 dc in the next st, 1 dc in the next st**. Work from * to ** 12 times. Sl st to the first dc to join. [36]
R4: Ch 3,*2 dc in the next st, 1 dc in each of the next 2 sts**. Work from * to ** 12 times. Sl st to the first dc to join. [48]
R5: Ch 3,*2 dc in the next st, 1 dc in each of the next 23 sts**. Work from * to ** 2 times. Sl st to the first dc to join. [50]
R6: Ch 3, 1 dc in each st around. Sl st to the first dc to join. [50]
R7-R13: Rep R6 [50]
If you would prefer the hat to reach mid ear, stop after R12.
Proceed to finishing instructions.
Adult Medium Bulky Beanie
To Fit: 23 inches Head Circumference Finished Length: 8.75 inches
R1: DMR: Ch 3, 12 dc, sl st to the top of first dc to join. [12]
R2: Ch 3, 2 dc in each st around; sl st to the first dc to join. [24]
R3: Ch 3,*2 dc in the next st, 1 dc in the next st**. Work from * to ** 12 times. Sl st to the first dc to join. [36]
R4: Ch 3,*2 dc in the next st, 1 dc in each of the next 2 sts**. Work from * to ** 12 times. Sl st to the first dc to join. [48]
R5: Ch 3,*2 dc in the next st, 1 dc in each of the next 5 sts**. Work from * to ** 7 times. 1 dc in each rem st around. Sl st to the first dc to join. [55]
R6: Ch 3, 1 dc in each st around. Sl st to the first dc to join. [55]
R7-R13: Rep R6 [55]
If you would prefer the hat to reach mid ear, stop after R12.
Proceed to finishing instructions.
Adult Large Bulky Beanie
To Fit: 24 inches Head Circumference Finished Length: 9 inches
R1: DMR: Ch 3, 12 dc, sl st to the top of first dc to join. [12]
R2: Ch 3, 2 dc in each st around; sl st to the first dc to join. [24]
R3: Ch 3,*2 dc in the next st, 1 dc in the next st**. Work from * to ** 12 times. Sl st to the first dc to join. [36]
R4: Ch 3,*2 dc in the next st, 1 dc in each of the next 2 sts**. Work from * to ** 12 times. Sl st to the first dc to join. [48]
R5: Ch 3,*2 dc in the next st, 1 dc in each of the next 3 sts**. Work from * to ** 10 times. 1 dc in each rem st around. Sl st to the first dc to join. [58]
R6: Ch 3, 1 dc in each st around. Sl st to the first dc to join. [58]
R7-R14: Rep R6 [58]
If you would prefer the hat to reach mid ear, stop after R13.
Tip: Click the printer icon at the top of this post to print or save a copy of the pattern for your personal use. You can choose to save it as a PDF or print it out to keep beside you while you crochet.
No. This pattern is designed specifically for Bulky (5) weight yarn. Using a lighter or heavier yarn will change the finished size and texture. For best results, choose a similar bulky yarn and check your gauge before starting.
How long does it take to crochet this beanie?
Most crocheters can make an adult size in about an hour.
Is this beginner-friendly?
Yes. The pattern uses only double crochet stitches, simple joins, and clear round instructions.
Can I add a pom-pom or brim?
Absolutely! Add a faux-fur pom-pom for a fun winter look, or extend the length by two rounds for a fold-over brim.
This beanie proves that simple patterns can be the most satisfying. Make a few in your favorite colors for cozy winter wear or quick handmade gifts. Don’t forget to pin this pattern to save it for later — it’s one you’ll use again and again.
Happy crocheting!
Join the Oombawka Design Crochet Facebook Group! Share your project photos, ask questions, and connect with other crocheters using Oombawka Design Crochet patterns and tutorials. We’d love to see your progress and finished makes! Join us here.
Curated Crochet Essentials Visit my Amazon shop for a handpicked selection of crochet tools, books, and kits.
Love Furls Crochet? Use my discount code OOMBAWKA2025 to receive 15% off the Furls Crochet Collection. Limit 1 use per customer. Expires December 31, 2025.
Love Shady Lane Original Crochet Designs? Use code OOMB for 15% off any pattern on the Shady Lane website, or code OOMBAWKAin her Etsy Shop. Expires December 31, 2026.
Rhondda Mol is the crochet designer and blogger behind Oombawka Design Crochet. Since 2012, she has been sharing free crochet patterns, tutorials, and expert tips to help crocheters of all levels succeed. With more than 600 published patterns, Rhondda focuses on creating clear instructions and resources to inspire creativity and confidence in the crochet community.
Hi Valerie, yes of course. Start at round 2 for the 3 year size hat and use a hair elastic. Work the 24 dc around the elastic. Then continue with the pattern. Hope this helps, Rhondda
Can I make this into a messy bun hat for my 3 yr great granddaughter?
Thanks
Valerie
Hi Rhonda
Many thanks for the pattern. I, like others in these comments, am a ‘newbie’ and also struggled with too many stitches (the plus side is I’m now good at flat circles!!!). If it helps anyone else, I found that a stitch marker every 10 stitches kept me on track and I am now nearly there 😁
Hi Rhonda
Many thanks for the pattern. I, like several others in these comments, am a ‘newbie’ and also struggled with too many stitches (the plus side is I’m now good at flat circles!!!). If it helps anyone else, I found that a stitch marker every 10 stitches kept me on track and I am now nearly there 😁
Hi Kate 🙂 Yes this hat with 29 stitches will fit an average Newborn Head Size if you are reaching the gauge in the pattern. The pattern gauge is 10 dc in 4 inches. This means each dc stitch measures 0.4 inches. When you have 29 stitches multiplied by 0.4 inches this gives you a finished hat circumference of 11.6 inches around. The hat will also stretch, allowing you a few extra inches (2+ more inches) of wiggle room for the head. The finished hat will fit up to a 14 inch head size. Newborns grow quite quickly though so if you are not going to be able to see the baby straight away, I recommend making the next size up. My son only fit newborn hat size for 2 weeks and then we needed to move up to the next size hat. All the best, Rhondda
Do you find this newborn hat @ 29 stitches around actually fits a real baby? It seems so tiny?
Hi Lorna, If you are ending up with too many stitches you may be working more than 1 stitch in each spot accidentally? Even a couple extra will make the hat much too large. I’d recommend counting your stitches at the end of every round so you can be sure where the extra stitches might be happening and then we can take a look to see what part of the instructions is causing the trouble. Thanks 🙂 Rhondda
hi…. i too am new to the crocheting thing…. i absolutely love it!! such good therapy.
i am following the pattern for your basic bulky beanie and am ending up with way too many stitches and too big a hat…. not sure why?? can you explain? thanks too much. love your site
Hi Amanda, I’ve rewritten the pattern to share the seamless technique I use when making my hats. There is no seam with this method but there is a tiny variation in the final height of the last stitch. This is mostly corrected by working the invisible join when you finish off and once the hat is on the person’s head it is barely detectable and much preferable to the icky back seam. Let me know if you have questions 🙂 Here’s the link: https://oombawkadesigncrochet.com/seamless-double-crochet-hat/
Hi there! New to making hats here.. how do I keep from a very obvious seam on this one? I’m not sure what I’m doing wrong !
Hi Ang, because of the height of the double crochet stitches, the only 2 ways I would work this would be with the sl st join and ch 3 to begin each round OR I would begin the entire pattern with a MR with 1 sc and 11 dc. Then work in continuous rounds with the first ch 3 replaced with 1 dc in each round to the end. For the final three stitches of the round I would work 1 dc, 1 hdc and 1 sc to decrease the height difference between the final stitch in the round and then work an invisible join to finish off. So for an example:
To Fit: 12 inches Head Circumference
Finished Length: 4.5 inches
R1: MR: 1 sc, 11 dc. [12]
R2: 2 dc in each st around. [24]
R3: 2 dc in the first st; 1 dc in each rem st around. [25]
R4: 1 dc in each st around. [25]
R5-R6: rep R4
R7: 1 dc in each of the first 23 sts, 1 hdc in the next st, 1 sc in the last st; finish off with an invisible join and weave in ends. [25]
If you would prefer the hat to reach mid ear, work the hat to R5 and then work R7.
Hope this helps!
Rhondda
Can This also be done continuous skipping the slip stitch?
I Kike so much your explanations
No. The magic ring – I linked a tutorial for you in the last comment. It is what you make before you work 6 single crochets into the center of it. It is a ring you make with yarn and then work into like a really big stitch. Then you pull the one end to tighten the ring and close it so the top of the hat doesn’t have a hole in the middle. The tutorial will walk you through each step of making one 🙂
Thanks Rhondda – so 6 single crochets to make the magic ring – correct? Sorry for the dumb questions.
Thank you.- Anagha
Hi Anagha, no – I begin with a MR. A MR is a magic ring and here’s the tutorial if you need it 🙂 https://oombawkadesigncrochet.com/how-to-make-a-magic-ring/ All the best, Rhondda
Hi Rhonda, thank you for this pattern. I am a beginner at crocheting, and am a little confused – do I do the Chain 3 and then 12 DC in the magic ring?